Fresh Water Tank Bracket Failure
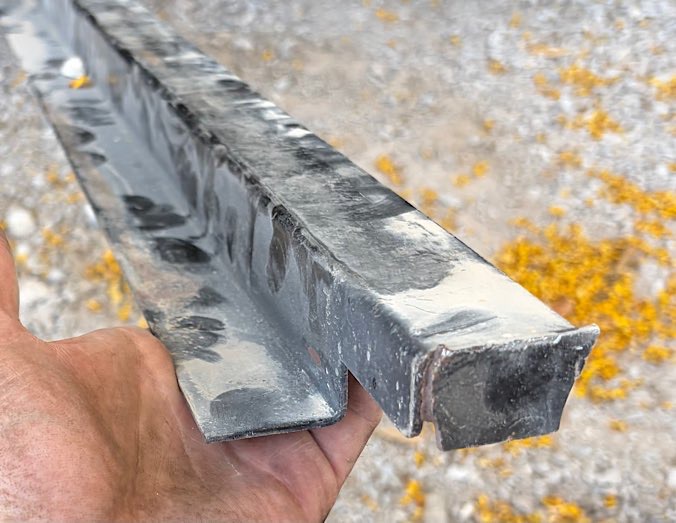
Before heading up to the Lincoln National Forest for Memorial Day weekend, I noticed the fresh water tank hanging low on the back drivers’ side. Further inspection revealed a busted bracket. Fuck! I was able to secure it with a cargo strap for the trip, but a more permanent solution would be required.
I was not motivated enough to spend an entire weekend dedicated to this repair, but I was motivated enough to NOT pay a repair shop for the work. While this post documents each day of work, know that it was one to four hours per day, and one day per weekend that I dedicated to this.
This ends up being much more labor intensive than the initial building of the RV because this bracket is fabricated on the spot as it is being built, AND while the coach has not been assembled onto the trailer yet. So they can just stand over the trailer frame and mount it all from above. I don’t have that luxury. I used the tongue jack to crank up the front end as high as possible and I crawled up underneath to make this repair.
Day One – 1 hour
I crawled under and removed that bracket so I can see how I’m going to fix it. Was not an easy task, to be sure. At least the cargo strap is holding the water tank and protective cover in place while the bracket is removed.
Hauling the trailer down normal roads probably would not have broken this bracket. It is those forest and back desert roads (and off roading) that are so hard on a fully filled 45-gallon water tank. Onto the frame of the bracket, Lance welds an end cap which contains a couple wing tabs that extend out for securing the bracket to the frame of the trailer – 2 bolts on each side. Same setup for the front of the fresh water tank. Down the middle is the strap that connects the front bracket to the rear bracket and literally holds up the tank.
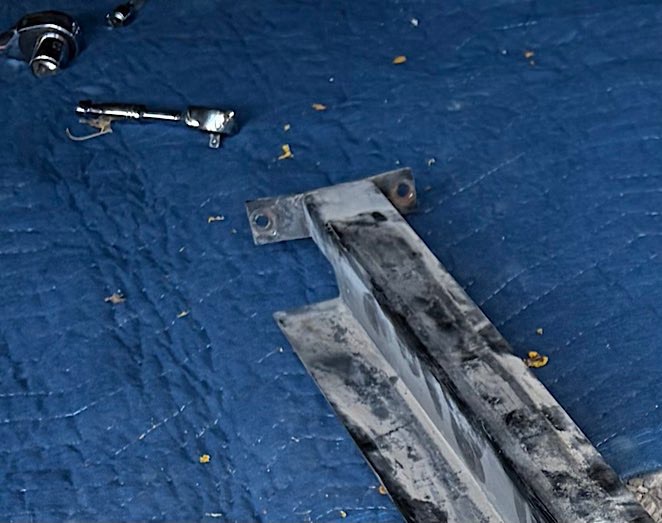
Day Two – 2 hours
I cut off those wing tab end caps and fabricated two L-brackets of similar width to the bracket bar. I had to apply a torch to 1/8 inch steel bars in order to bend the steel without breaking or weakening the steel’s integrity. A final heating and cooling cycle for additional hardening. Instead of using a wing bracket to secure to the frame, I now have a L bracket that points straight down from the bracket. This was where my first mistake was made. The bend of my first bracket did not happen where I intended. I’ve never bent steal like this. This made it an inch longer than I intended. I’ll deal with that later if necessary. The 2nd bracket I took that Kentucky windage into consideration and was able to get it to bend exactly where I wanted. Put a fresh coat of paint on the entire bracket.
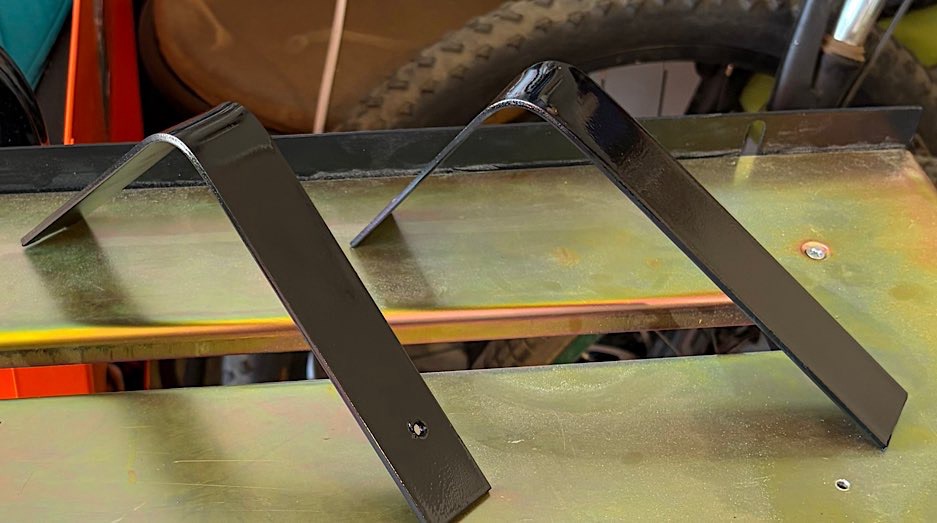
Day Three – 1 hour
Next step was attaching the brackets to the bar. I went with some self tapping screws, drilling down from the top of the bracket to keep the stubby ends from poking into the floor of the trailer.
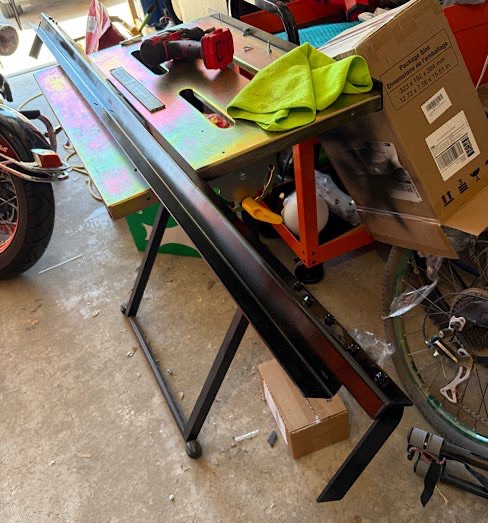
Day Four – 2 hours.
Now that I had the bracket fabricated, I had to maneuver it back into place up under the trailer. Because of my extended L brackets, that proved impossible unless I removed the tunnel cover that runs between the axles housing HVAC ventilating hose and miscellaneous wires. After removing that tunnel cover I was able to position the bracket into place with ease.
Remember that mistake of the inch longer than intended bracket? This is where it bit me in the ass. The bracket would not rest clean against the trailer frame. IT was resting on another bolt. I would have to come back with a cutter. Would I remove the bracket and take it back home or come another day with a cutter? I chose the latter. Another day it is.
Day 5 – 1 hour
Today would be spend cutting off an inch of bracket. With an angle grinder. While installed in place. Right next to a propane line. “Careful” was the word of the day! Success! Now the bracket fit perfectly in place. But still not flush against the frame. To properly mount the bracket to the trailer frame I needed the brackets clamped flush to the trailer. This was not going to happen without some type of C-clamp that had a throat much larger than any I already owned. Sounds like I’ve finished for the day.
Day Six – 4 hours
With the bracket in place and my newly purchased 18-inch C-clamp locking pliers, I was able to secure the passenger side bracket with 1 self tapping screw, but the 2nd one proved to be some trouble. Eventually I stripped that side out. Moved to the driver’s side and almost had the same result. Found my problem before I stripped this one. More steal to go through than the 1st screw. Needed a slightly longer one. A trip to Lowes and back fixed it. But it was too late for that other side. Already stripped out. It needs the next size up, or a simple bolt/locking nut combo.
Day Seven – 3 hours
Ended up using a 5/16 bolt with lock washer after drilling out the hole I stripped. Only took about 15 minutes to drill up the hole a couple sizes and install the nut/bolt combo. Made sure everything was put back properly and tightened, as well as shoring up some of the power and propane lines with pipe insulation for protection against vibration against the new metal parts.
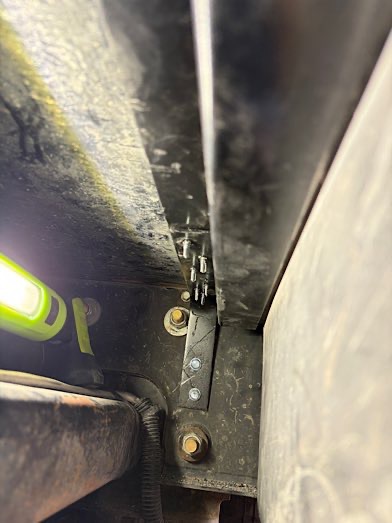
I felt victorious as I removed that makeshift cargo strap “bracket” I installed back on Memorial Day weekend.
14 hours of labor and less than $150 in parts (including a new torch and C-Clamp locking pliers) I was able to get it back in operation. Question is, when will our next Field Training Exercise be?